You may have heard about “log” and “LUTs” but what are they?
Log (which is short for logarithmic), when shooting with log, uses a logarithmic instead of linear tone curve. Log footage has more extra processing headroom for colour grading but initially appears more flat than footage shot without log (especially when shot compressed). Any log footage needs to be edited to make it look more finished.
Note that not all cameras offer log modes, only more high-end models. If your camera offers log, this will be listed as one of S-Logs on Sony cameras and F-Logs on Fuji cameras, and so on.
The reason why you want to shoot with a log, if possible, is to capture a full range of highlights, shadows, and whites to get the widest possible dynamic range. When looking at footage shot in log, the colours look less saturated so they need to be edited in post-production. However, shooting in log retains information in the shadows and highlights.
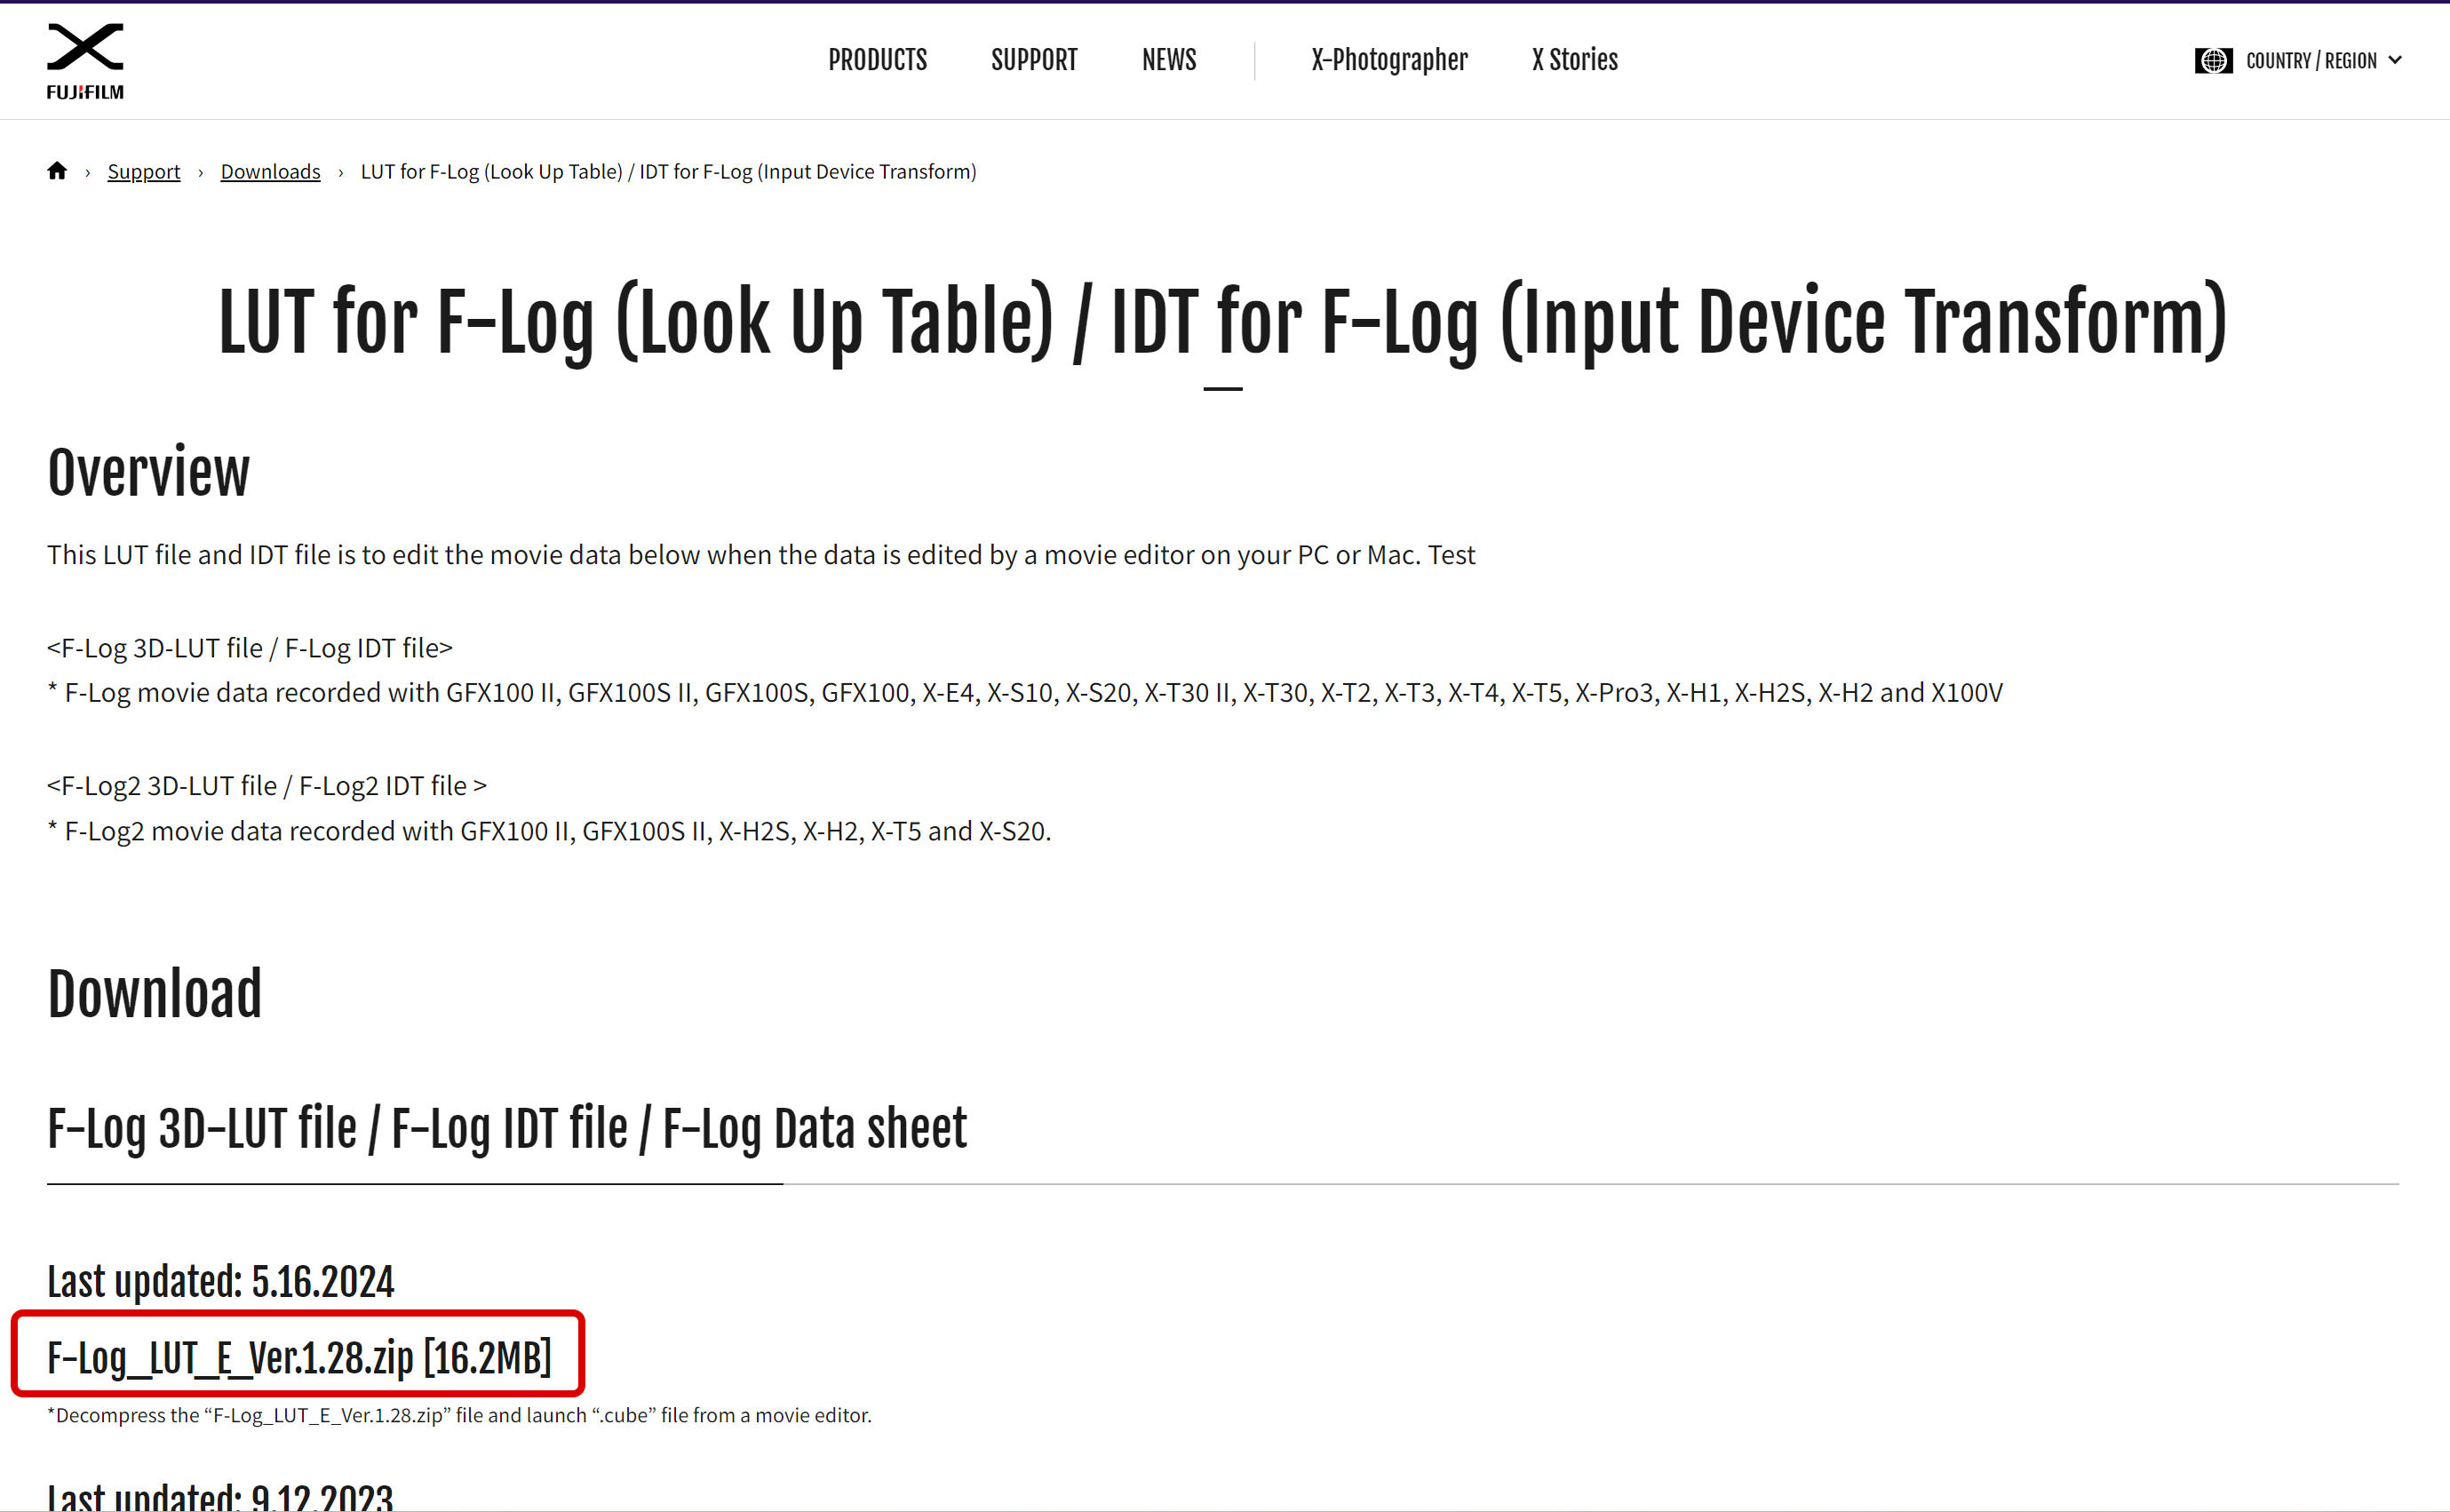
If you choose to shoot in log, you are then applying a LUT (look up table) to your footage at the start of the colour correction process. Applying a LUT is the first step in trying to achieve a cinematic colour grade. Each camera has its own LUT, which can be downloaded from the camera manufacturer’s website.
Here’s an example of F-log LUT download on Fujfilm’s website for Fujifilm mirrorless cameras (LUT download link circled):

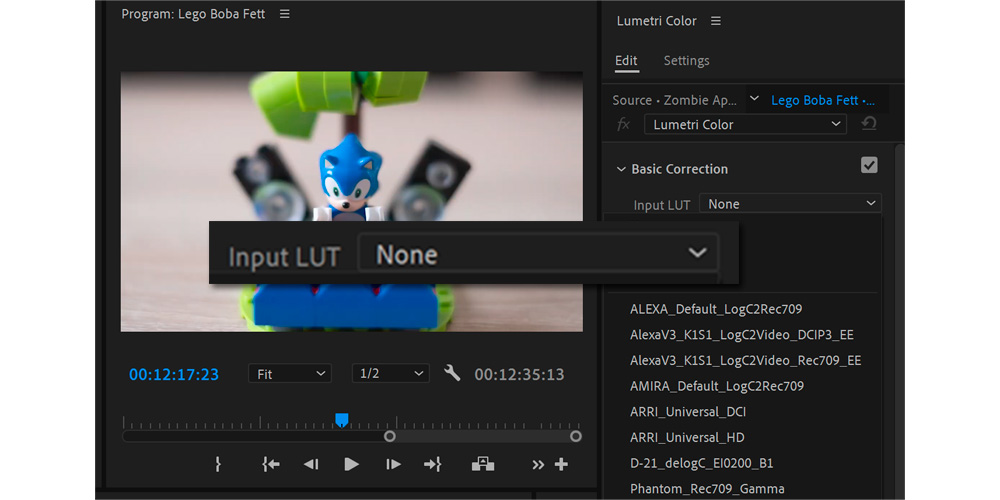
After having the LUT downloaded, you can then apply it in the Lumetri Color panel in Adobe Premiere Pro, in the Basic Correction section, using the Look drop-down.

